Strawberry rose cupcakes

Friday, May 28, 2010

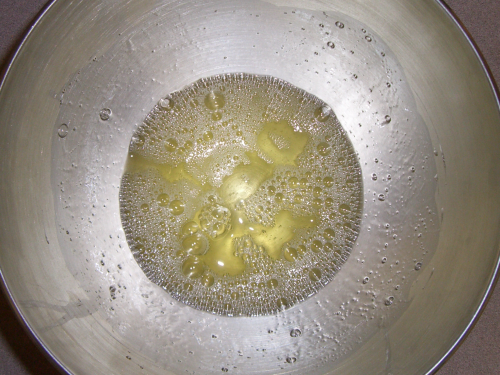
My very first post-class baking project involved making rose cupcakes again. Since the recipe and process were exactly the same as last time, the only pictures I took of the preparation stage were of the egg whites. Here they are after about five seconds of beating:


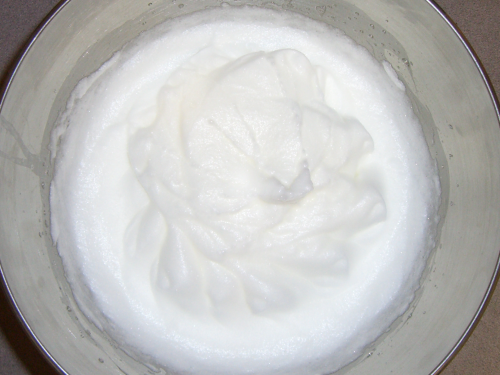
These are the same egg whites once they were stiff:


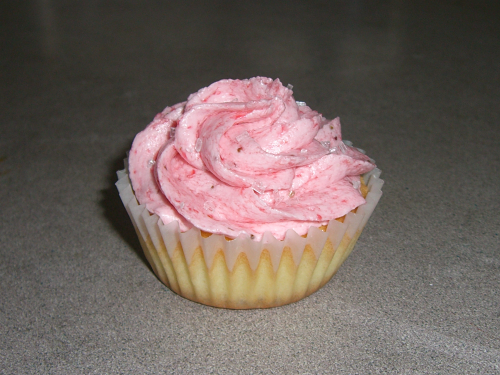
Since I no longer had to use the icing recipe required for the class, I experimented with fresh strawberries and came up with my own:

  • Strawberry icing
  •  
  • 1/3 cshortening
  • 2/3 tspbutter flavour
  • 6 Tbsppuréed strawberries
  • 1 1/2 cicing sugar
  • 1 tspmeringue powder
  •  
  • Cream shortening, butter flavour, and puréed strawberries. Add icing sugar and meringue powder. Mix until creamy, adjusting with additional puréed strawberries and/or icing sugar to achieve desired consistency.
I spooned the icing into a decorating bag and piped in a circular shape. Here is a finished cupcake sprinkled with sanding sugar:

Seeing dots

Saturday, May 8, 2010

At the very last class of Wilton course 1, I brought this cream coloured cake to decorate. We spent about 45 minutes learning how to complete our roses and my first ones were a little lopsided:


The instructor used Wilton brand store-bought icing and it felt a lot stiffer. She coloured it burgundy and let us use it and my rose turned out a lot better:


Then I tried a couple more with my own icing and started to get the hang of things. This was taken right after I finished piping the rose and it is still sitting on the flower nail:


We learned a few more techniques like piping a bow, which I was not fond of, so I just practiced more roses. Just before the end of class, I picked three roses and secured them on top of my cake. When I got home, I started decorating the base of the cake with dots because they were one of the few things I had definitely mastered.


Then I added more dots on the side and around the base of the roses, plus wrote a message on top as well because I had a friend celebrating her birthday the next day!


And here I am with Elisse, who was enjoying the cake at her birthday brunch with a bunch of girlfriends!

True cost

Thursday, May 6, 2010

It was time to sort out all my credit card receipts and I made a list of all the items I bought and the amount I spent because of Wilton course 1. Wow! Of course a lot of these were either tools that will last a long time or are ingredients that I didn't use up completely, but still. That's a lot of money (and time) to invest in a deceptively inexpensive course! It is technically possible to get through the course with only the course kit, one 8" cake pan, meringue powder, piping gel, butter flavour, and ingredients, but the other items made life a lot easier. Anyway, here's the itemized list:

  • 22.39Course 1 kit
  • 7.38Angled spatula
  • 8.056" pan
  • 30.23Icing tip set with container
  • 2.34Small couplers
  • 2.01Large coupler
  • 20.15Decorating bags
  • 2.34Small couplers
  • 13.19Icing colours
  • 3.68Cake leveller
  • 14.14Piping gel, 8" pan, butter flavour
  • 9.028" pan
  • 5.70Cake boards
  • 16.79Cake caddy
  • 9.06Meringue powder
  • 10.07Bake-even strips
  • 16.12Turntable
  • 30.64Ingredients
  • $223.30

Look ma, no crumbs!

Sunday, May 2, 2010

For my last cake decorating class (in Wilton course one), we had to bring another iced cake to decorate. Since my previous cake took about twelve hours straight to get it to the stage where I could take it to class, I got smart this time and figured out my game plan in advance. I baked two cakes ahead of time and froze them, then pulled them out to defrost on the morning of the day I planned to work with them. That evening, I prepared the icing and chose a delicate cream colour. It was actually a combination of the Wilton gel colours in copper, lemon yellow, and pink. This was the icing before it was completely mixed:


Once the icing was ready and the jam-based cream filling was good to go, I unwrapped my defrosted cakes. I left this to the last minute to keep the cakes as moist as possible. I had it on a sheet of wax paper and that was double-wrapped with saran wrap:


After slicing both cakes in half, the bottom layer went on the cake board. I remembered to put a little icing on the board before placing the cake on (to prevent it from sliding) and almost forgot to use wax paper strips to protect the board:


I used the same jam-based cream filling (made with blackcurrant-pomegranate jam) as last time and this is what the cake looked like once it was fully torted:


And then it was time to cover the whole thing with icing. It was much more apparent with this cake that a crumbcoat was necessary to catch all the crumbs and prevent them from showing up in the finished cake. This was the cake after crumbcoating:


I put the cake in the fridge for about an hour and did the second layer of icing after. And voilà, no crumbs!

About Aileen

  • LATEST TWEET: @heyelisse No, I was at VIFF earlier. And I've seen it before. Did you watch?
  • LATEST MOVIE: Renoir
  • LATEST CELEBRITY CRUSH: Rufus Sewell
  • LATEST SONG: Jasper Steverlinck - Life on Mars

About this blog

TRIAL BY SUGAR is an attempt to document the recipe hacks of an occasional kitchen elf.

My name is Aileen and although I am useless in the kitchen most of the time, I enjoy baking immensely. There is something magical about throwing together a mishmash of ingredients, adding heat, and ending up in something that is much more than the sum of its parts.

Sometimes I pick recipes that fit the items in my cupboard, other times it is the ones that come with the prettiest pictures or the most intriguing combination of ingredients. However, most of the time, an idea pops in my head and I just have to find a way to recreate it in baked form. No matter how the recipes are chosen, I seem to always need to bring them to life in a different way because I don't have all the ingredients or because something else in my cupboard desperately wants to join in the fun.

This means all of the recipes in this blog are not direct copies of someone else's work - they have all been modified slightly, a lot, or, in some cases, are completely mangled. They are faithfully recorded with accompanying commentary and photos, and are available for anyone to use!

   Blogger template by ourblogtemplates.com, but with some modifications of course.

Back to TOP